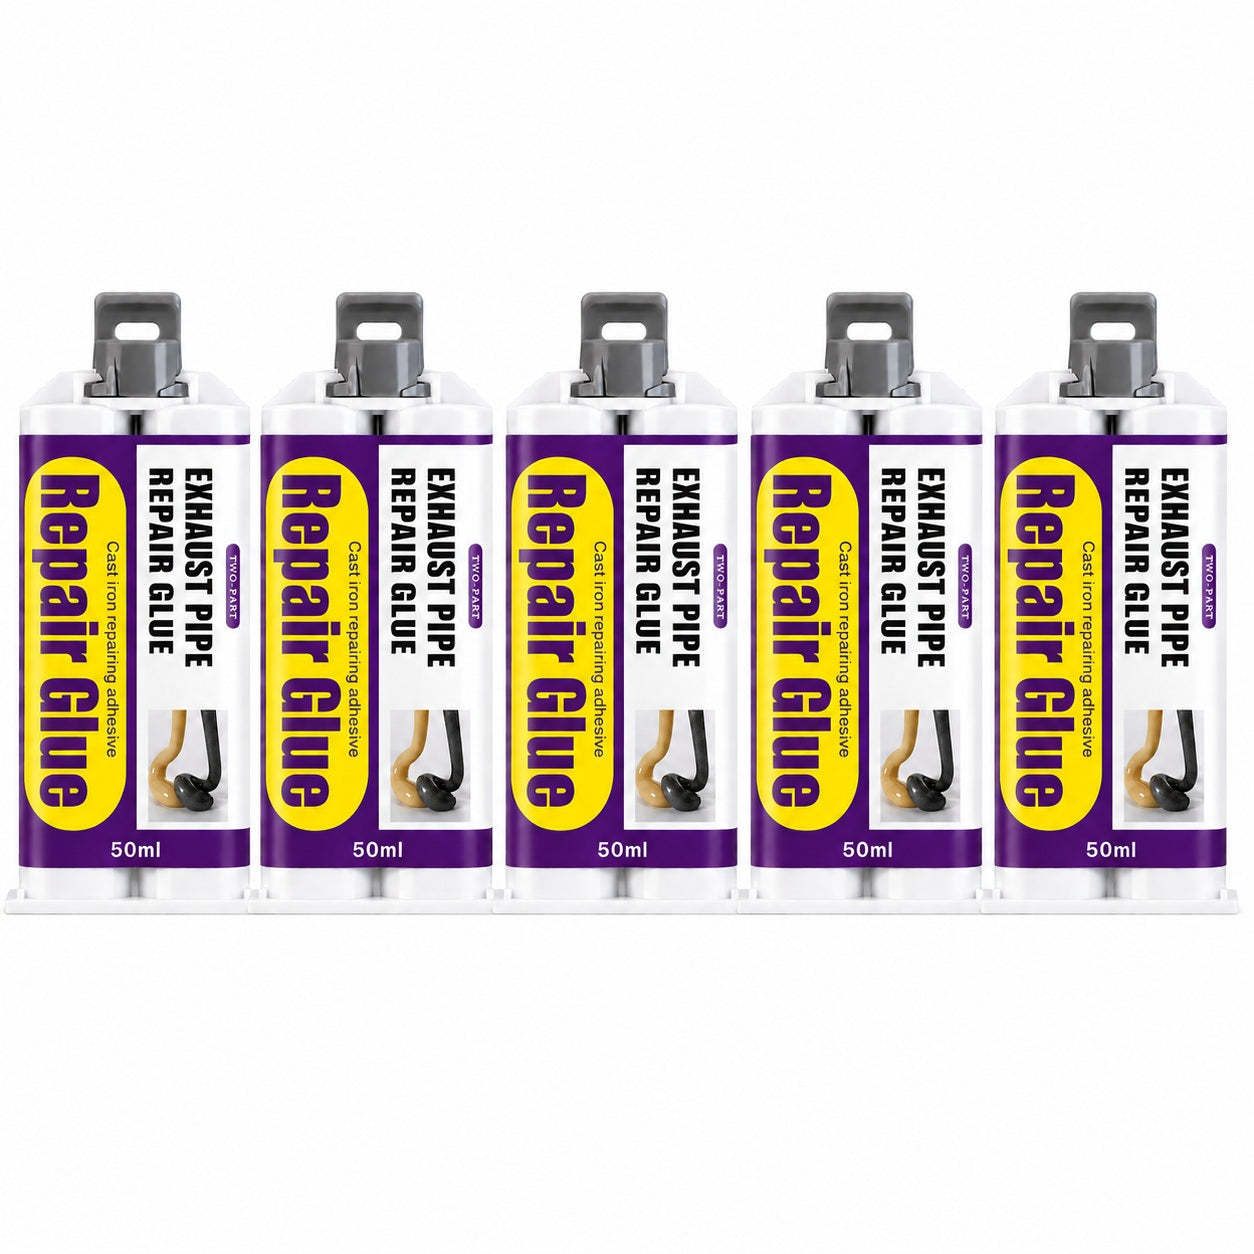
TWO-PART METAL REPAIR
Repair Cracks Without Replacing the Whole Part
Fill cracks, seal gaps, and rebuild damaged metal around exhaust pipes, household pipes, frames, and workshop parts—without reaching for a welder.
GET REPAIR GLUE NOW
Always apply to a cool, clean, dry, and properly prepared surface.
STRONG METAL BOND 1:1 DUAL DISPENSING SAND • DRILL • PAINT
Repair instead of replace
A small crack can become a costly problem.
Cracked exhaust joints, leaking metal pipes, and damaged housings often need more than tape or a temporary patch. Repair Glue fills the damaged area and bonds to properly prepared metal for a firm, stable repair.
No Welding Equipment Handle practical metal repairs without a torch or bulky machine.
Fills Cracks and Gaps The paste-like formula stays where you spread it.
Made for Tough Conditions Resists water, corrosion, impact, and temperature changes after curing.
Balanced from the first press
The dual plunger handles the 1:1 ratio.
Both components dispense together, while the supplied nozzle combines them into an even repair paste. That means less measuring, less mess, and fewer mixing mistakes.
Convenient Two-Part Application Press once to dispense both components at the same time.
Room-Temperature Cure No special heating equipment is needed during application.
Silver-Gray Finish Blends naturally with many steel and metal repair areas.
Shape the finished repair
Cured hard enough to finish your way.
After the adhesive has cured completely, the repaired area can be sanded, drilled, milled, or painted to suit the part and the final appearance you need.
−55°C Low-temperature resistance*
220°C High-temperature resistance*
50 ml Compact dual cartridge
1 Year Stated shelf life*
One kit, more repair options
Ready for metal problems around the car, home, and workshop.
Use it on suitable exhaust components, rigid metal pipes, door and window frames, cast-metal housings, tools, and other properly prepared metal surfaces.
How to use
Clean. Mix. Apply. Cure.
Good preparation makes the difference. Follow these steps before putting the repaired part back into service.
Clean and roughen the surface Turn off the equipment and let it cool. Remove rust, oil, paint, water, and loose material. Lightly roughen the bonding area.
Attach the nozzle and dispense Fit the mixing nozzle, press the dual plunger, and dispense enough material to cover the crack and surrounding metal.
Spread an even repair layer Use the supplied spatula to push the adhesive into the damaged area and smooth the surface.
Let it cure completely Leave the repair undisturbed. Do not expose it to heat, pressure, water, sanding, or normal use until fully cured.
Application tip: Work only on a cool surface and prepare a wider area around the crack so the adhesive can grip sound metal—not loose rust or flaking paint.
What comes in the kit
The essentials for a controlled application.
The dual cartridge, mixing nozzle, and spreading spatula work together to make two-part metal repair easier to manage.
Product Two-Part Metal Repair Glue
Net content 50 ml
Color Silver gray
Temperature range* −55°C to 220°C
Included Cartridge, mixing nozzle, spatula
Real workshop feedback
A practical option when tape is not enough.
★★★★★
“The dual tube was easier than measuring two separate parts. I cleaned the pipe first, and the paste stayed where I spread it.”
— Mark T., garage repair
★★★★★
“I used it on a small crack in a metal housing. After curing, I sanded the edge and painted over the repair.”
— Daniel R., home workshop
★★★★☆
“Surface preparation matters, but the mixing nozzle and scraper made the application straightforward.”
— Chris M., DIY user
Q&A
Answers before you start the repair.
What materials can I use Repair Glue on?
It is intended for rigid metal repairs. Always test compatibility first and apply only to clean, dry, stable, and properly prepared surfaces.
Do I need to measure the two components?
The dual plunger dispenses both parts together in a 1:1 ratio. The supplied nozzle helps mix them as the adhesive is dispensed.
Can the cured repair be sanded or painted?
Yes. Once the adhesive has cured completely, it can be sanded, drilled, milled, and painted.
Can I apply it to a hot exhaust pipe?
No. Turn the vehicle or equipment off and allow the part to cool completely. Apply only to a clean, cool, and dry surface.
How long should I wait before using the repaired part?
Cure time depends on temperature, repair thickness, and conditions. Follow the package directions and wait for a complete cure before exposing the repair to heat, water, pressure, sanding, or normal use.
Is it suitable for structural or safety-critical repairs?
Do not rely on adhesive alone for fuel, gas, brake, potable-water, load-bearing, or other safety-critical systems. Use a qualified professional whenever failure could cause injury or serious damage.
How should I store the unused product?
Seal the cartridge after use and store it upright in a cool, dry place away from children, direct sunlight, heat, and ignition sources.
Order with confidence.
Your order is supported from checkout through delivery, with a straightforward satisfaction policy if something is not right.
✓
Satisfaction Guarantee If something is not right with an eligible order, contact our support team so we can help under the store’s current return policy.
⌁
Secure Shopify Checkout Your payment details are protected through Shopify’s secure checkout process.
▣
Tracked Shipping Tracking information is provided when your order ships, so you can follow its progress.
✉
Responsive Customer Support Have a question about your order? Contact our support team and include your order number.
Keep a tough metal repair option in your toolbox.
One compact two-part kit for cracks, gaps, and practical metal repair jobs around the garage and home.
CHOOSE YOUR REPAIR KIT
*Specifications are based on the supplied product information. Results depend on material, preparation, mixing, application thickness, cure time, and service conditions. Always follow the package directions and applicable safety guidance.


 DESIGNED & DEVELOPED IN New York, USA